Actions are configured from the properties panel on the right of the storyboard. This appears when you select an individual action. All actions share common configuration options, as well as options specific to the action.
All actions have three tabs: build, status, and logs. Webhook actions have an additional summary tab.
Common Config
For all actions, you can:
Configure the name, description, and options unique to the action type from the build tab.
View the action status, set up action monitoring to notify you of events or errors, and set up time saved per action from the status tab.
View action logs to find out what happened from the log tab.
Depending on the action type, all options may not be available in the common config.
Source and Receiver Actions
When an action runs, either on a schedule or when an event is received from a source action, it will generate a new event and emit it to receiving actions.
As shown below, by dragging a string between actions, we define where events should be emitted.
Failure path for actions
A failure path can be defined for actions. This will cause any action run which contains an error log to emit its event down the failure path. To opt into the behavior, use the action context menu and select "set failure path", and then link to another action to receive failures.
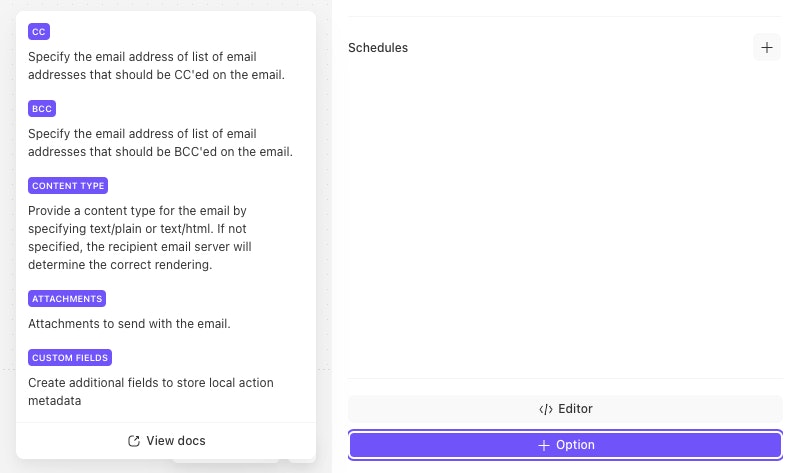
Adding options
All of the basic options required for an action to function will be shown when you first drag an action onto the storyboard. However, most actions have additional optional options which allow you to achieve more with the action. You can access these options by clicking on the add option button at the bottom of the properties panel.
Common Options
Every action has the following options, as well as others more specific to that action type:
💡Note
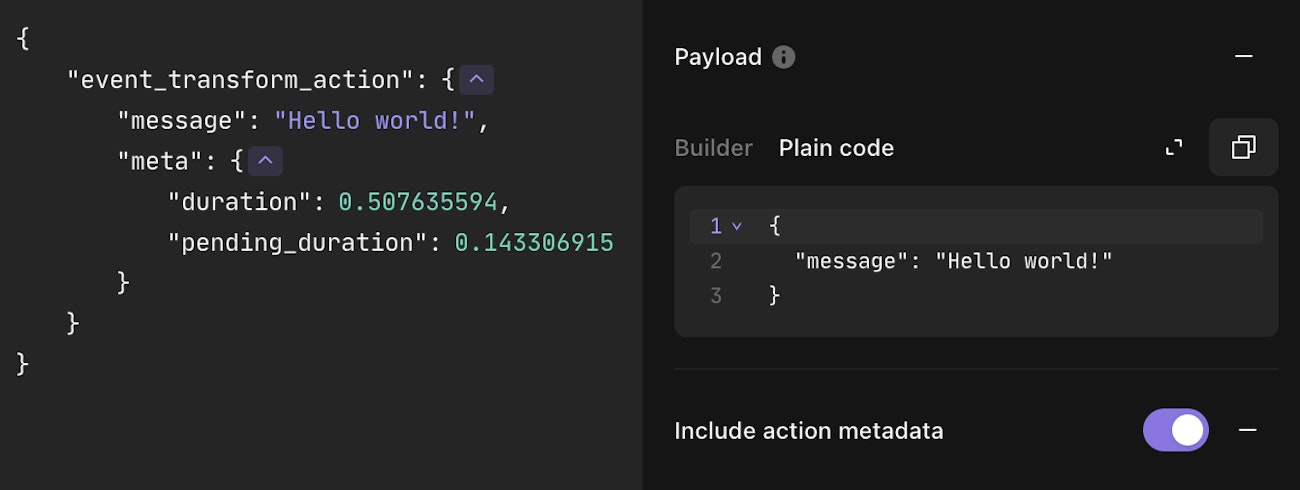
Action Metadata
In addition to the common options, many actions also include the Include action metadata option. When enabled, this adds a meta attribute to emitted events, containing metadata about the action run. This metadata is only added if the event is an object.
The following actions support metadata: HTTP Request, Send Email, Trigger, and Event Transformation when used in Automatic, Deduplicate, Explode, Extract, or Message only modes.
All actions that support metadata include the following attributes, though some actions may provide additional metadata as well.