Building Apps
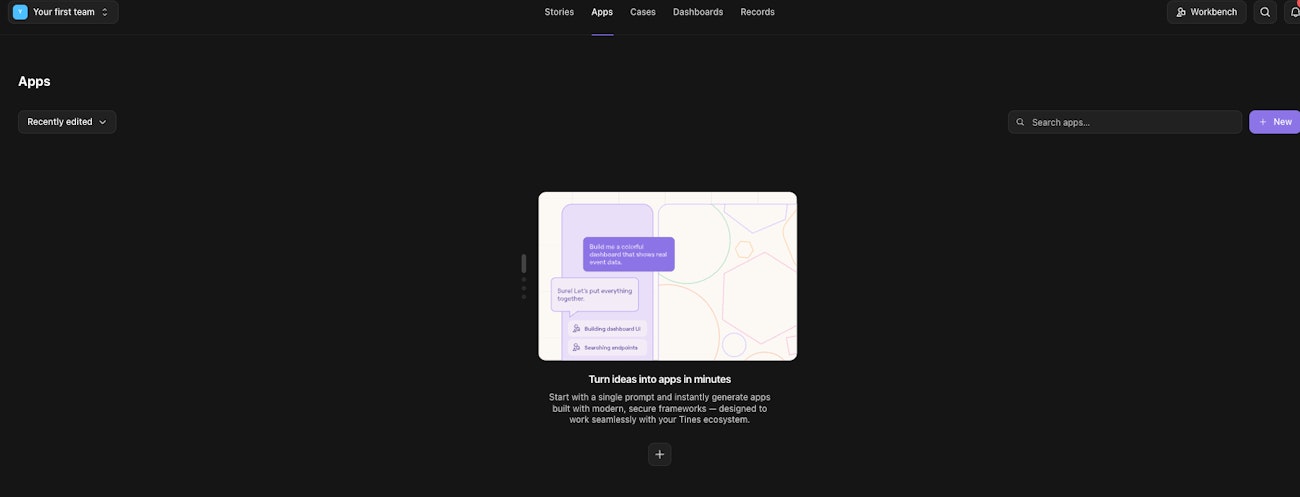
Apps are launched from their own surface in Tines. Upon first visit, you'll be welcomed by a few slides to help get you started with Apps. Click the New button to create a new App.
The App builder
Once a new App is created and you are in the builder, the build process takes place in the left-hand conversation panel. There are two modes that can be used and changed mid-conversation:
Plan: in plan mode, the App builder is unable to change the code or endpoints. Use plan mode to think through your build before making any changes. These plans are saved as markdown plan documents and are viewable in the Code tab.
Build: in build mode, the App builder can make changes to the code and endpoints. It can also read and build plans that were generated in plan mode.
In your first message, describe what you want to build and an initial version of your App will be generated within minutes.
Prompts are important. Clear inputs lead to better results. Consider these:
What you want your App to do, including any specific features or functionality.
Whether the app should be powered by real data, and if it should connect to an existing story.
The intended look and feel. You can upload mockups, references, or describe the desired design direction.
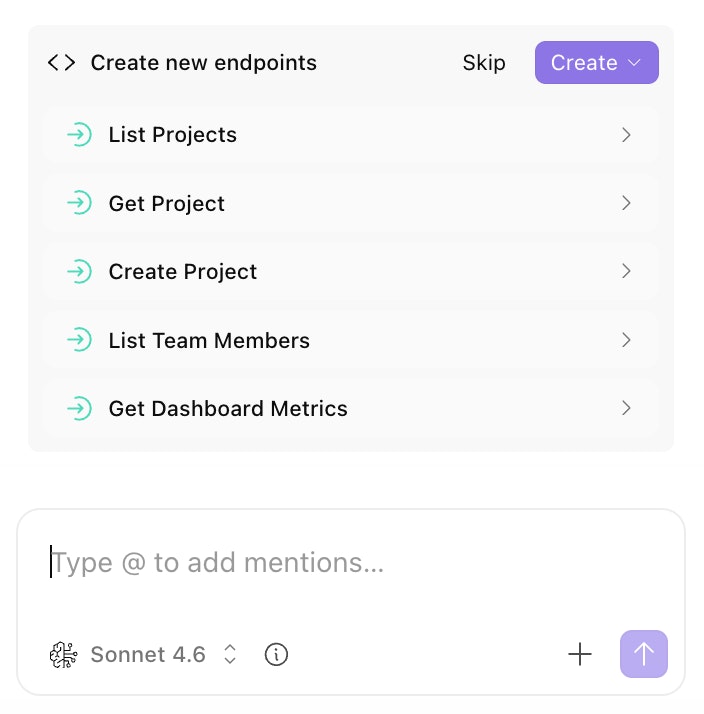
Whether you want the App builder to generate endpoints for you. Specify this in your prompt and it will be handled automatically.
Preview
The Preview tab displays the visual output of your generated app. It is a fully interactive sandbox where you can interact with your application as it runs.
Using the built-in browser controls, you can refresh the view, navigate back and forward, and preview your App across different viewport sizes (Desktop and Mobile).
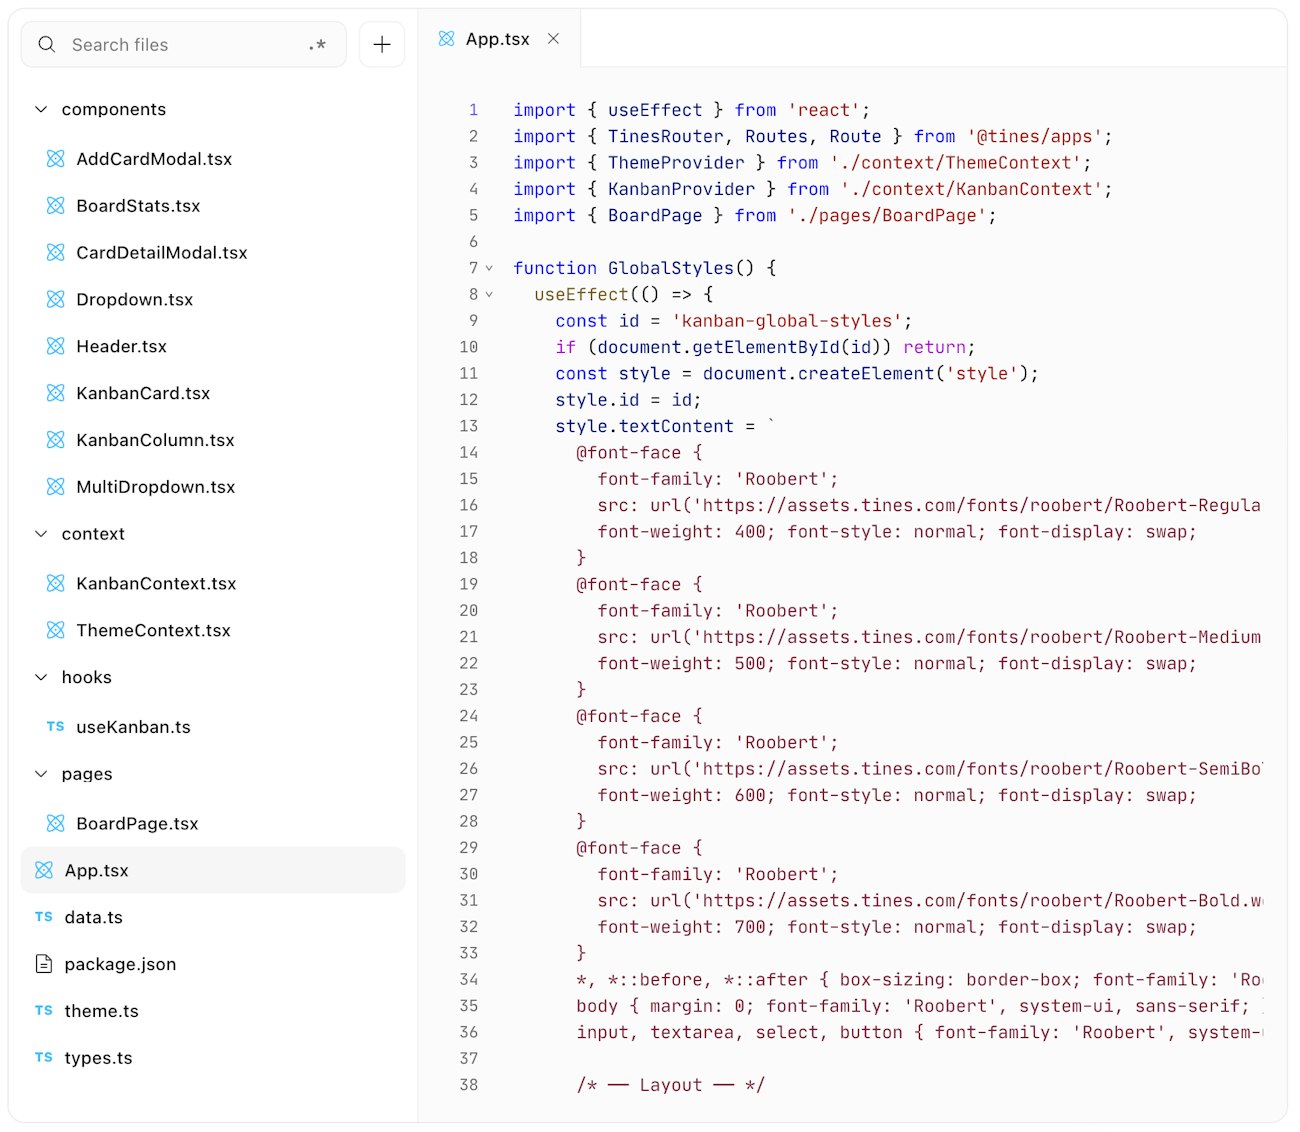
Code
The Code tab contains all of the React code generated for your App. From here, you can browse files, search within the codebase, and edit code directly. Save any manual edits with cmd + s/ ctrl + s for individual files, or across all files with cmd + option + s/ctrl + alt + s.
Endpoints
Endpoints are what connects your App to Tines workflows. Send data to or receive data from a story using endpoints.
App endpoints can be created in multiple ways:
Workbench-generated endpoints
Workbench can automatically create endpoints for you. When building something new, Workbench acts as a companion that can quickly generate endpoints within existing stories or spin up new, dedicated stories for your App. From your App, you can ask Workbench to create or use endpoints, and everything is handled within the conversation.
Manually created endpoints
You can manually define endpoints, either in an existing story or in a new one. If you’ve already built a workflow you want to expose in your App, you can enable its inputs and outputs as App endpoints so your App can interact directly with the story and its data. Alternatively, you can still use Workbench to help set these up more quickly.
To manually define endpoints:
- Navigate to the right panel on a storyboard → Interfaces section → App endpoints- Ensure you have a webhook action to set as an entry point, and a message-only event transform action to set as an exit point. The entry point converts to an endpoint upon configuration.
Reuse recent response
For endpoints that return the same result for the same input, you can reuse a recent response instead of running the story again on every call. This lowers latency and cuts down on repeated story runs.Reuse is configured on the endpoint's entry point (the app endpoint action).
Open the action and set Reuse recent responses to one of:
Off(default) — every request runs the story.Per user— each caller reuses only their own previous responses. Use this when responses depend on who is asking.Per app— one response is shared across every caller that sends the same input. Use this for data that is the same for all users.
When you choose Per user or Per app, set Reuse responses for (minutes) to control how long a response can be reused before the story runs again.
A stored response is reused only when a later request sends exactly the same input. Tines invalidates stored responses automatically whenever you edit the story, and reuse never applies while you are testing a draft — those runs always run fresh. To discard stored responses manually, open the entry action, navigate to the status tab and select Clear . The next matching request then runs the story again.

The Endpoints tab provides a consolidated view of all endpoints used by your App to communicate with one or more underlying stories. This view inside your App helps maintain context and provides visibility into key integrations. From here, you can open any endpoint’s associated story in a new tab to inspect the underlying workflow in more detail.

Routing
Routing allows you to create multi-page Apps, and helps users of your App navigate between different views.
Apps can have multiple pages, with their own unique URLs
You can deep link to a URL, or refresh the page and it will persist
Apps can consume the path, and URL parameters
Routing is fully supported within Cases and Collections (you won't see the URL)
How to use routing
The App builder has full context of routing. Simply prompt to build a multi-page App.