In this module, you will learn the basics of what actions are and how they work.
What are actions?
Actions are automated processes that Tines runs in response to events. They are the building blocks of Tines automation stories.
Actions allow you to perform tasks like:
Receiving alerts from third-party systems
Sending/receiving emails
Interacting with REST APIs
Running scheduled tasks
You can drag and drop actions onto the Tines storyboard to build your first automation story. Once an action receives an event, it can perform the configured task and emit a new event.
In simple terms, actions are the automated "if this, then that" processes that power Tines automations.
The seven types of actions
Actions are the individual steps that lead to an overall use case or task. Use the seven core Tines actions to build anything you want. Let's review these actions to understand how they play into our automations.
Webhook action
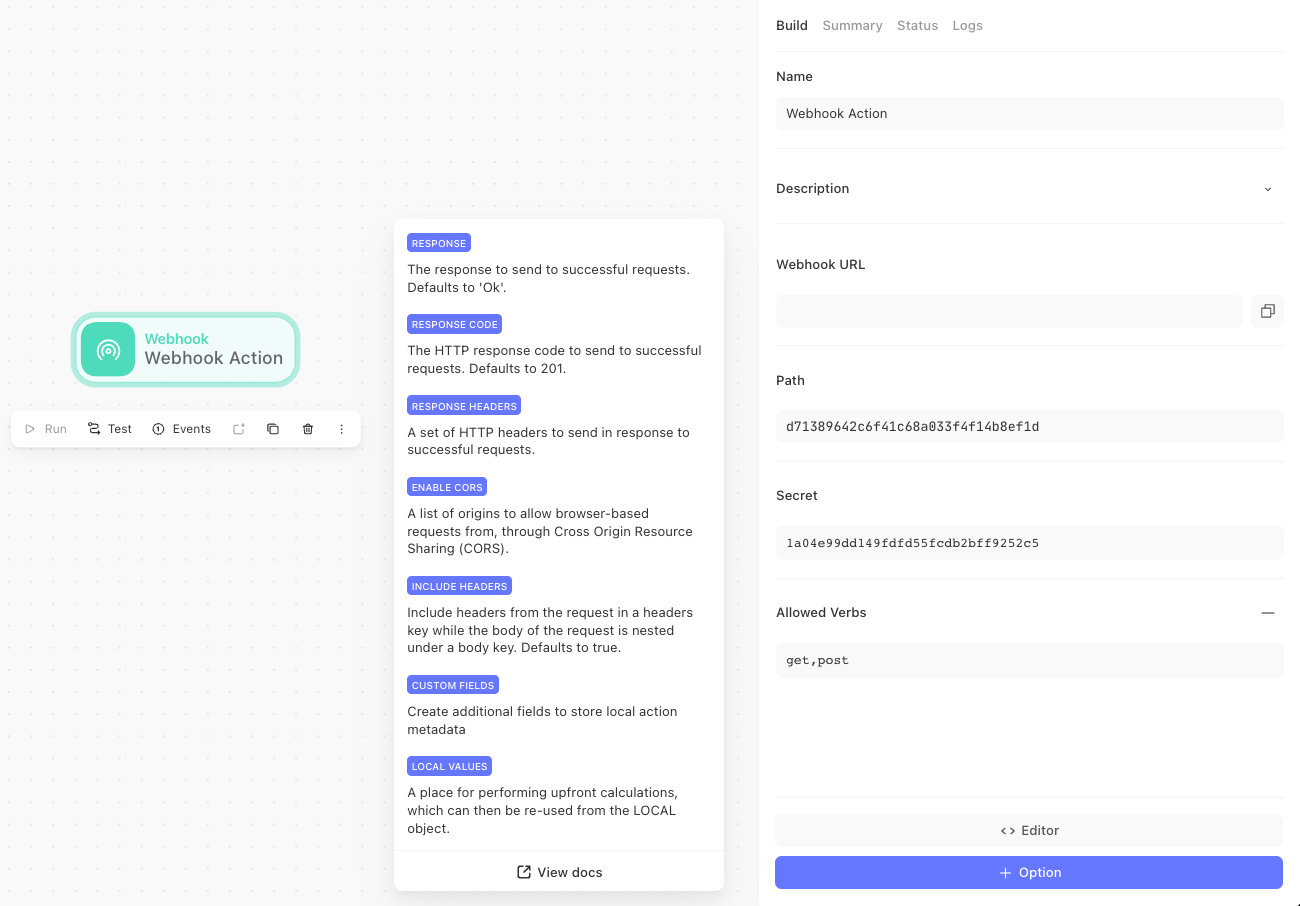
This action kicks off a story whenever you receive a webhook event from another service.
For more on webhooks, click here.
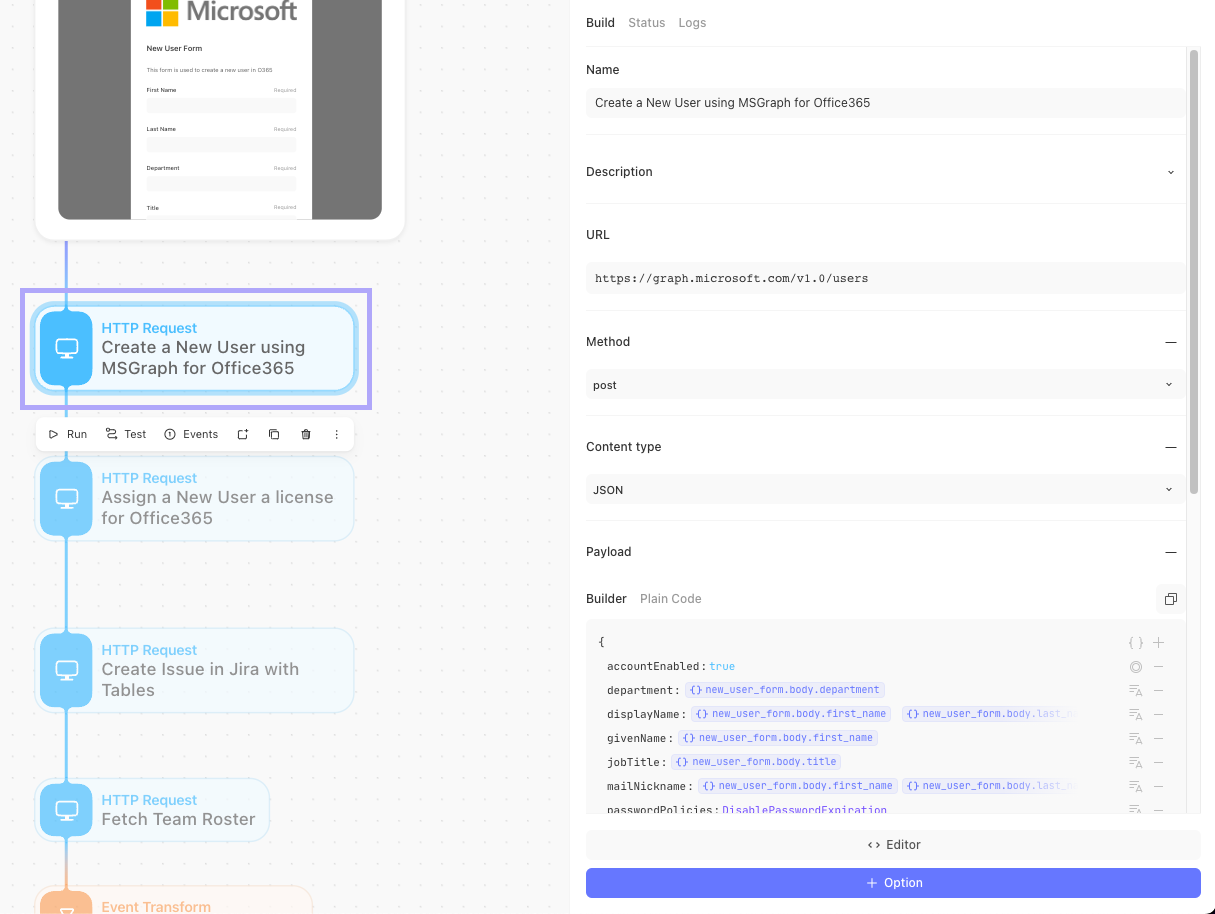
HTTP request action
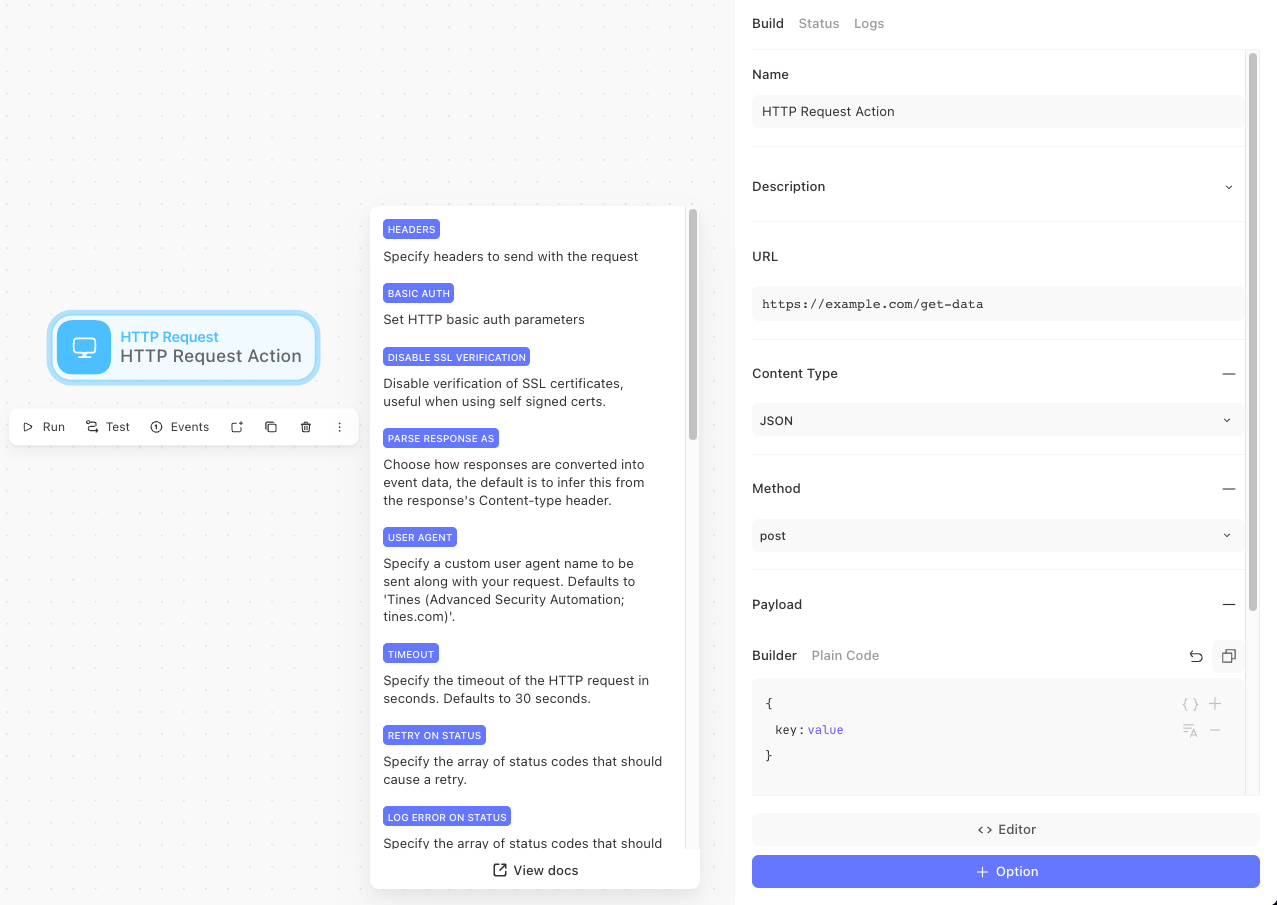
This action reaches out to an API service.
An API is where we can interface with a third-party tool to either:
Get - retrieve data
Post - ask for a task to be performed on our behalf
Put - ask to update something, such as a resource like a Jira ticket
For more on HTTP request actions, click here.
APIs: explained
💡Note
Trigger action
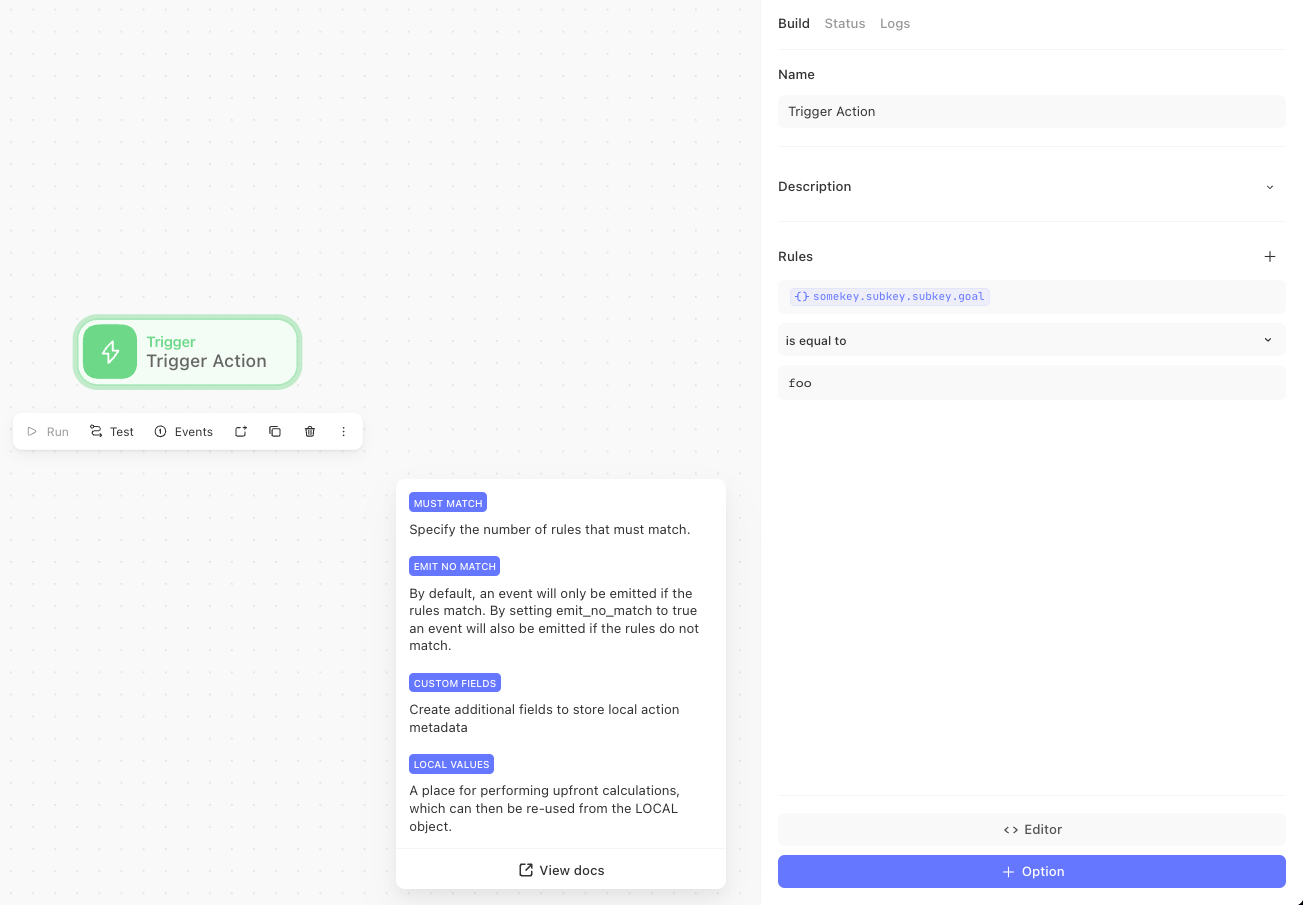
Trigger actions allow you to create conditional statements in your story, i.e., If this, then that.
Example: A successful request was made in a previous action, so you want to continue your story.
For more on triggers, click here.
Receive email action
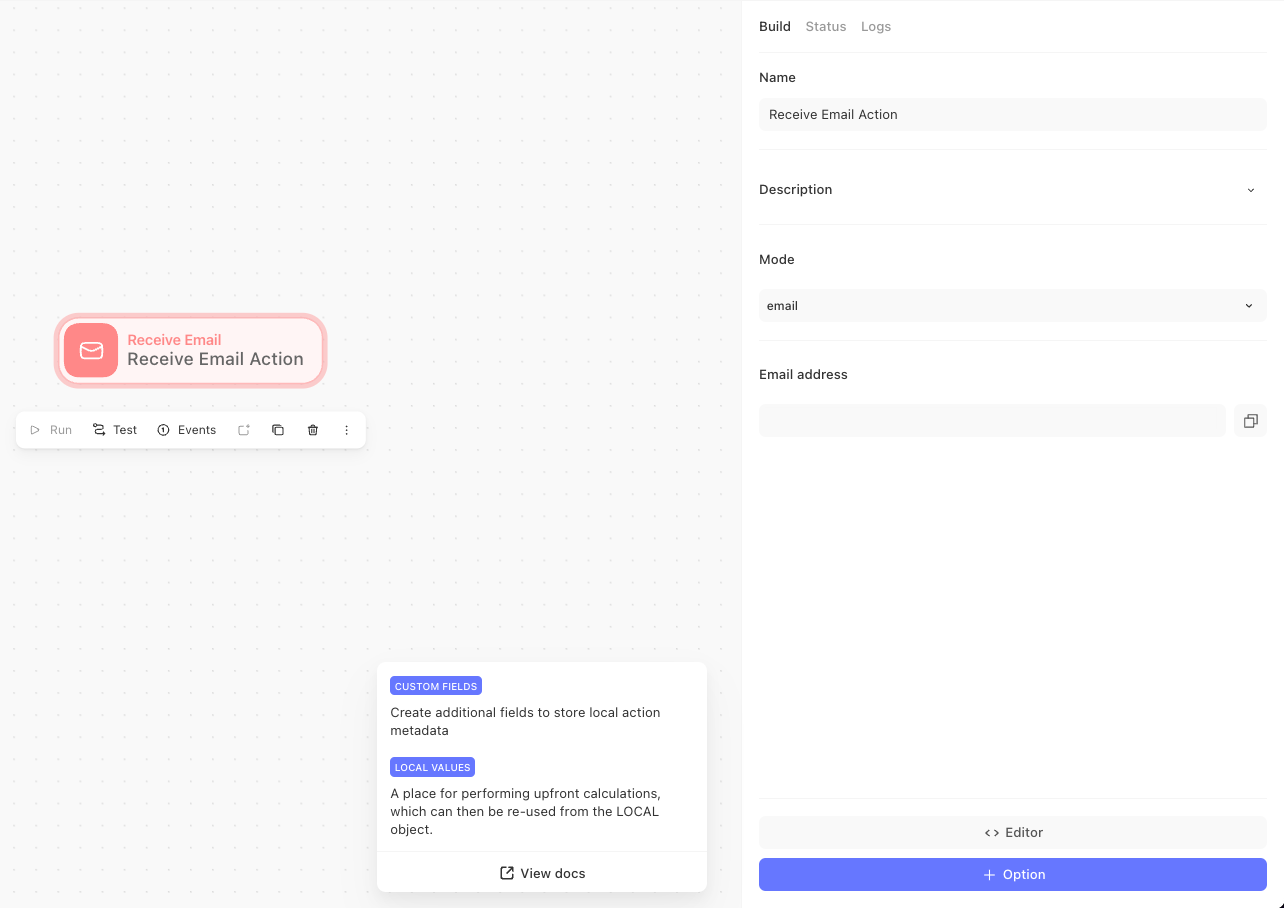
This action will kick off a story when you receive an email.
You can use either “email” mode or “imap” mode.
Email mode provides you with an email address you can use. Anytime an email is sent there, it’ll kick off your story.
IMAP mode emits events when it detects new emails on your desired email service.
For more on receive email, click here.
Send email action
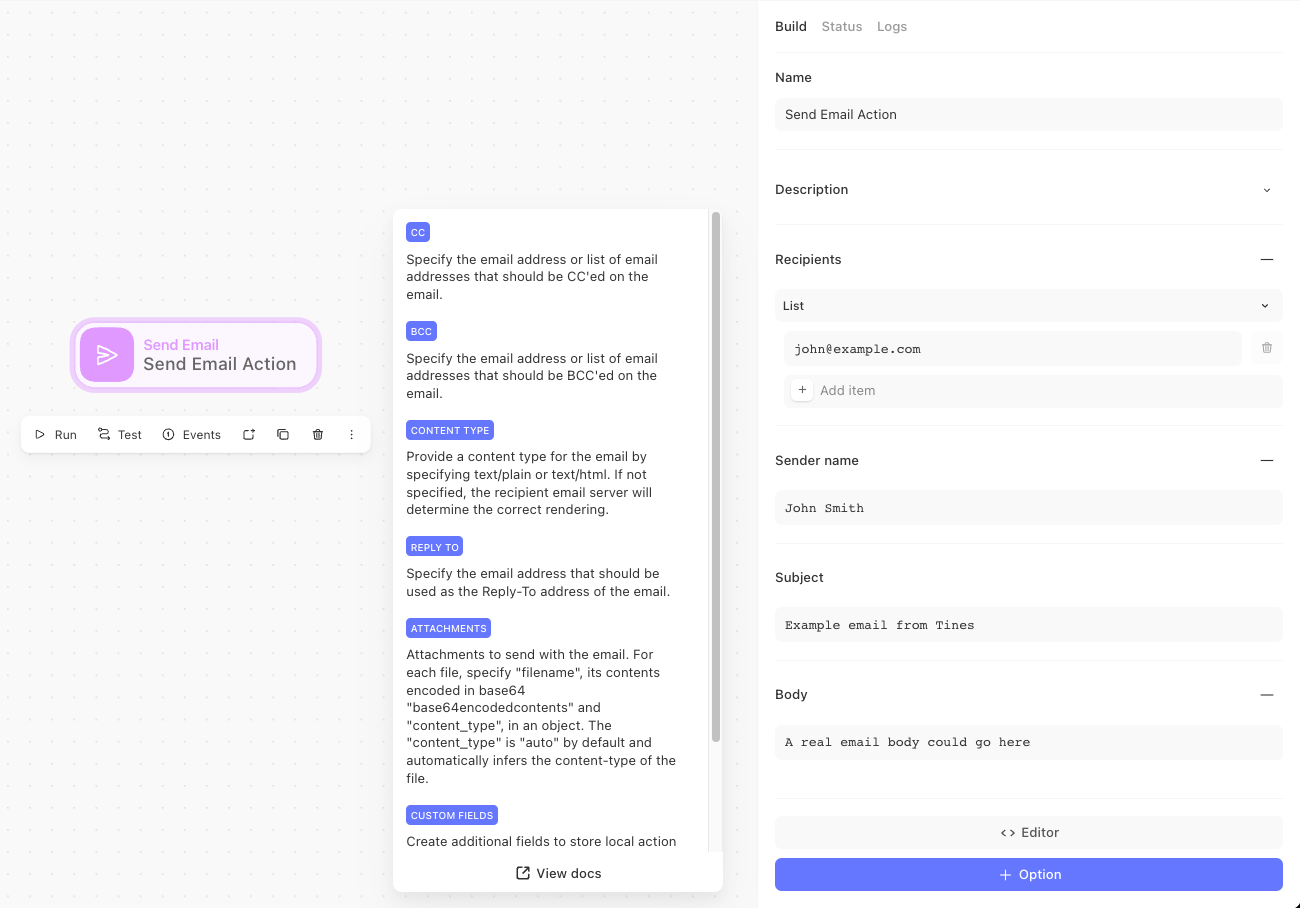
With the send email action, you can send an email and configure the subject, recipients, body, and even add attachments. This is a great way to end a story or create a notification stream.
For more on send email, click here.
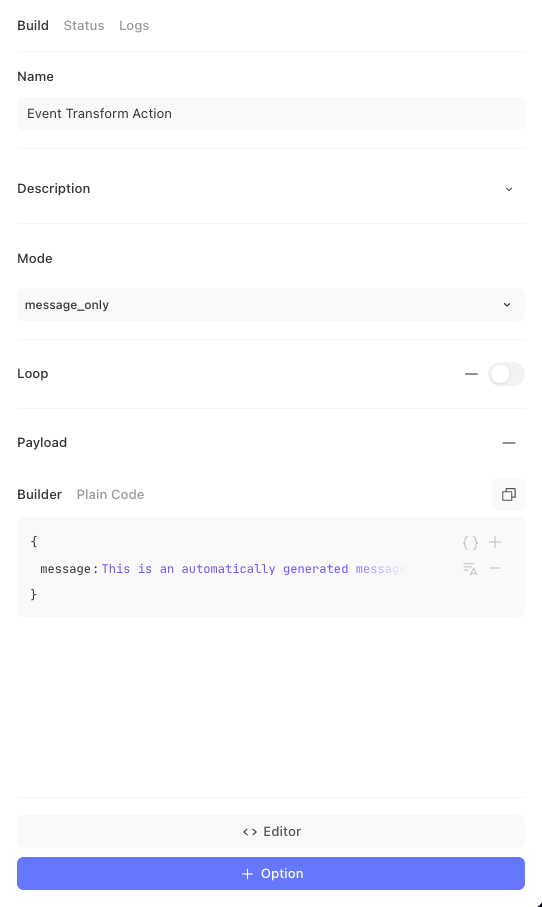
Event transform action
The event transformation action has several modes that modify the contents of received events:
Message onlyFormat data.
Run calculations with formulas.
Loop through data with LOOP mode.
Create if statements using tags.
Pro tip: Great for reformatting data.
DelayCreate buffer time before the next action.
Pro tip: Great to leverage when you submit a request to a service and need to wait X seconds/minutes.
ThrottleSets the maximum number of events that can flow through.
Pro tip: Great to manage Rate Limiting with tools you use.
ExtractUse REGEX expressions to extract data from a previous action.
ExplodeTake a list/array and break it into individual items to be processed as separate events in your story.
Pro tip: Great for checking individual items in a list and performing a task.
ImplodeTake individual items (events) and package them into a list/array based on given size.
Pro tip: Used in conjunction with explode to re-create exploded array/list or can be used as a counter.
DeduplicateDon’t allow duplicate entries to go through your story.
Pro tip: Great to reduce identical checks in your story due to getting the same data more than once.
For more on event transformation, click here.
Send to story action
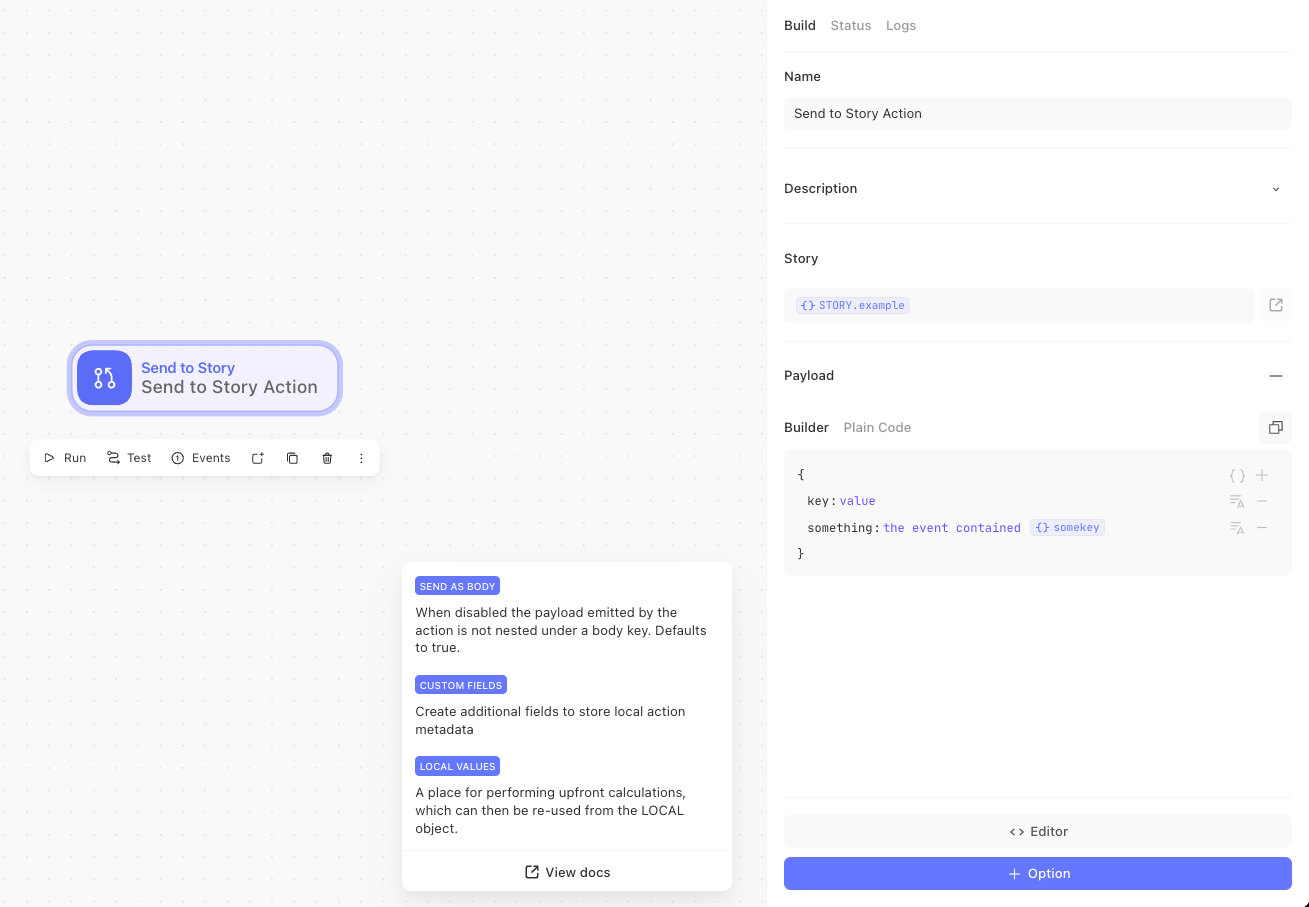
An easily repeatable collection of actions in its own storyboard that you can call from any story.
Example: Send x slack message to y channel.
Explanation: Feed your Send to Story the X and Y values and let the Send to Story do the heavy lifting. It is agnostic to any given story or values in a story.
For more on send to story, click here.
Properties tab
The build tab is the primary place you will use when configuring the properties for our actions. This is where we will do all of our core settings, from naming our action to all the nitty gritty details.
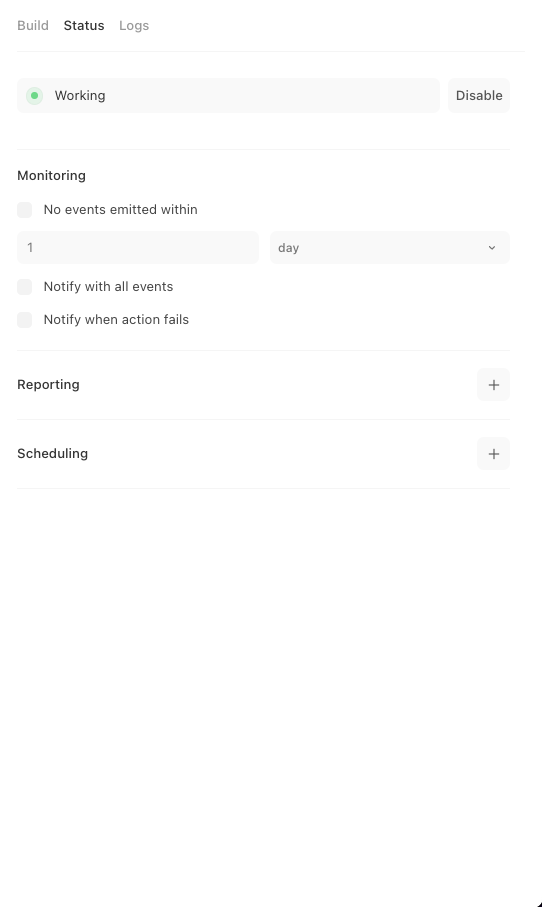
In the status tab, we can disable our action so that it stops the flow of the story. There are also options to set up monitoring, reporting, and even scheduling.
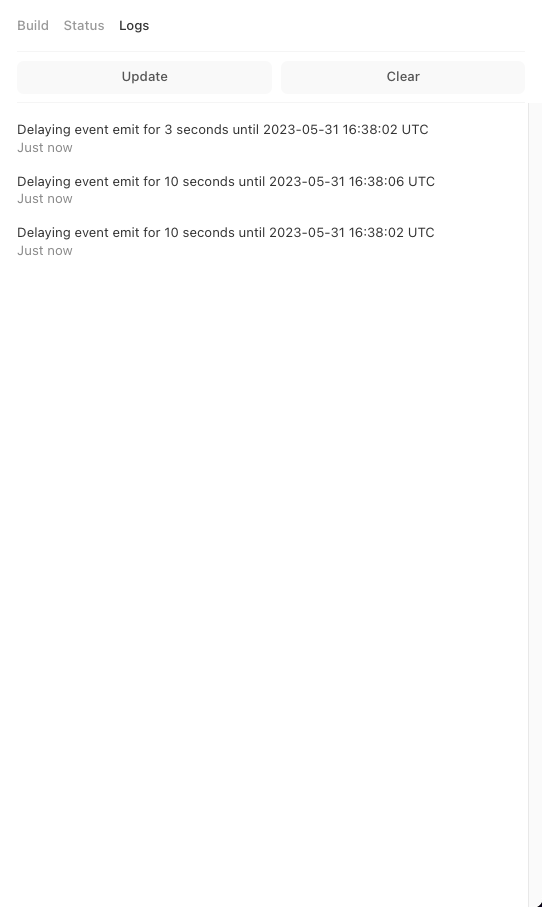
The logs tab will surface anytime we hit any errors with HTTP requests, show us the timing around delays, and provide info about our throttled events.
TLDR; what can I do with an action?
Configure
Each action has a special set of values you can configure in the build tab.
Run
Running an action will execute it and then continue it through your story.
Re-emit
Take the data from a previously executed action and send it down your story.
This is great if you don’t want to re-run your initial action.
Please note: When you re-emit, it won’t re-execute that action but will execute every subsequent action.
Test
Test an action with given input data without it causing substantial actions to occur.
Schedule
Set a time when you want an action to kick off. This is especially helpful if you need an action to run every day at X time, like pulling a report.
This is only available for published stories.
Options
Every action has additional types of configuration you can add to it. For example, with the HTTP request action, you can add "retry on status". This allows you to use specific status codes that should cause a retry. This is a great way to add some extra error handling to your requests for different services.
Example: running an action
In the below example, we'll be able to follow along as we run our very first action.