

Professionals working in Cyber Threat Intelligence (CTI) enjoy playing detective, researcher, analyzer, and communicator. With Tines, there’s a better way to quickly get answers for some of the most common questions that can tip off more strategic (read: exciting, fulfilling, meaningful) threat intelligence research. Hybrid automation helps to replace the tedious, repetitive, technical collection and contextualization steps to get to the ‘good stuff’ where the security professional shines. Using a browser extension, Tines can provide enrichment for Indicators of compromise (IoCs) any time you’d like. Below, we will walk through how you can quickly create a browser extension with Tines and start enriching IPs.
Step one: create your story
For this tutorial, you should use the Chrome browser.
Before you begin, you'll need to create a VirusTotal account if you don't already have one, or any enrichment tool of your choice, and retrieve your API key.
To retrieve your API key, sign in to your account and you will find it as a menu item under your user name on the right-hand side.
Using this API key, create a credential in your Tines team for this tool. Next, download our pre-prepared browser extension (.zip).
Following this, log into Tines and import the following story to your tenant, or create a new tenant and import.
Loading story...
Once you have the components of the story, navigate to the Tines page within your story and copy the link for your Tines page:
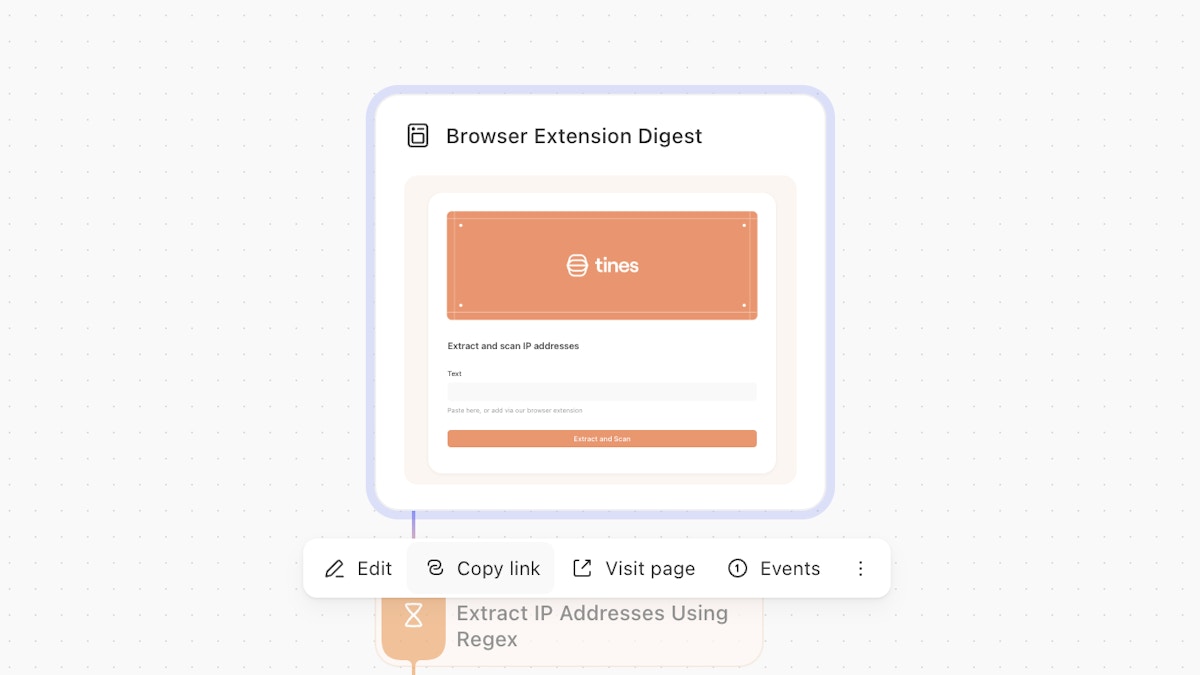
Keep the page URL to hand, we will need it for the next step.
Step two: adding the endpoints
Next, in the zip file you downloaded, you'll need to modify the contents of the file.
Configure your browser extension
Open the eventPage.js file, which will look like the below.
var Tines = {
    "id": "Tines",
    "title": "Tines",
    "contexts": ['selection']
}


chrome.runtime.onInstalled.addListener(() => {
  chrome.contextMenus.create(Tines)
});

function fixedEncodeURI (str) {
    return encodeURI(str).replace('/%5B/g', '[').replace('/%5D/g', ']');
}

chrome.contextMenus.onClicked.addListener(function(contextClick) {

  if(contextClick.selectionText && contextClick.menuItemId == "Tines"){
    var Tines = "Tines-Page-URL?text="+fixedEncodeURI(contextClick.selectionText);
    chrome.tabs.create({url:Tines});
  }

});
You'll need to modify line 20.
Remove the portion of line 20 that reads: Tines-Page-URL, but preserve the ‘?text=’ parameter of the line.
Replace ‘Tines-Page-URL’ with the link you copied from the Tines page; from step one above.
It should look like this, but with your specific tenant details: https://tenant-domain.tines.com/pages/<uniqueguid>?text=
Save the now modified eventPage.js in the file originally downloaded.
Loading the extension into your browser:
Go to your extensions manager.
You can access extensions by clicking the puzzle piece in your browser or the hamburger menu in the top right corner, and clicking “Manage Extension”.
Make sure you have 'Developer mode' toggled on. Follow step two of these instructions for a breakdown.
Click the Load Unpacked option on the top left.
Upload the file Tines Chrome Extension.
Once the extension is added and visible in your extensions manager, you will see Tines when you right click your highlighted IPs:
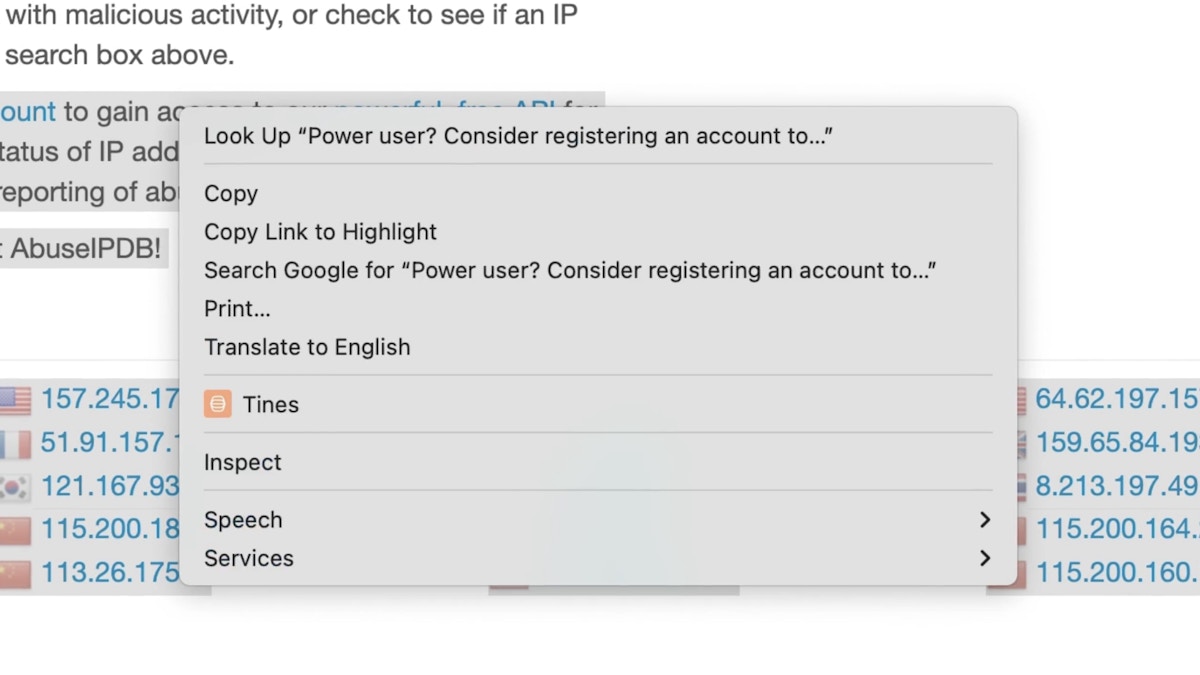
Import IPs from abuseipdb.com or whichever site you use. Upon highlighting text and then clicking “Tines”, the highlighted text should be sent to your linked Tines story.